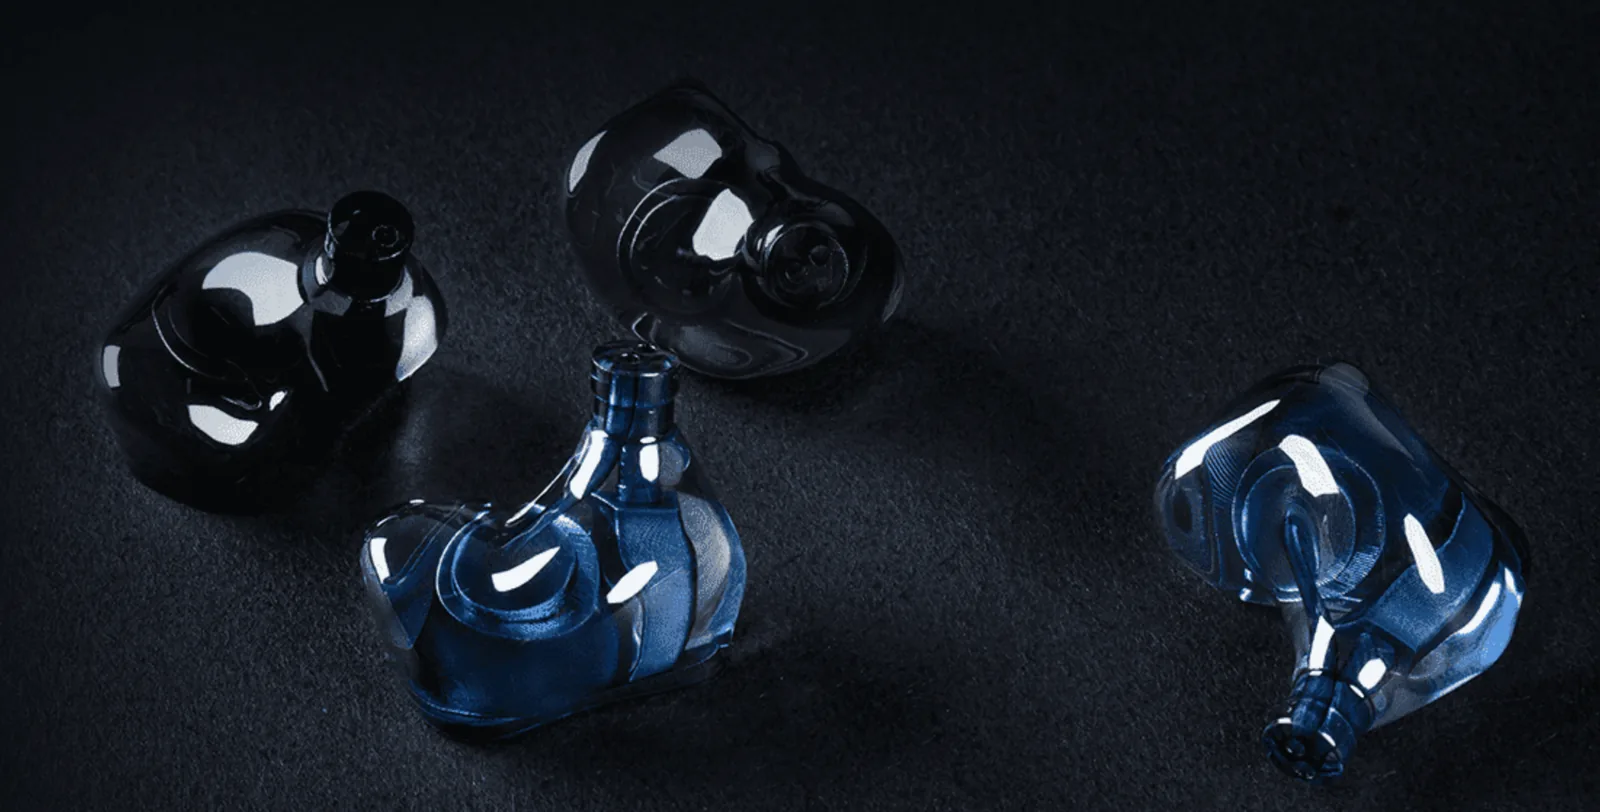
Post-processing
Printing finished,
only half the part
Final dimensions, surface and feel of a photopolymer part are decided by post-processing. The same model and material delivered at different tiers are two different parts. This page lists the post-processing operations we run, the surface results they achieve, and how each tier affects lead time.
- Ra 1.6 μmSurface roughness after finishing
- 4 tiersPost-processing tiers
- 400–2000 gritStep sanding
- Per partBatch and inspection records
Why post-processing matters most
Part-to-part variation
mostly starts in post-processing
Forming only sets the geometry of the blank. Support marks, residual resin, under-cured surfaces and the dimensional change from sanding and polishing all happen after the print.
With identical slice parameters, differences between parts come mainly from post-processing rather than the machine. If post-processing is inconsistent, upstream accuracy control is meaningless.
So we split post-processing into selectable tiers: the tier follows the part's final use rather than defaulting to the highest. Surface result, lead time and cost all become predictable.
01 / Cleaning and second-stage curing
Two-stage solvent cleaning,
then measured curing by resin grade
Parts are soaked to dissolve bulk residual resin, then briefly ultrasonicated to clear fine holes and tube bores, before measured post-curing at the wavelength matched to the resin grade — balancing surface dryness against mechanical properties.
- Cleaning methodTwo-stage IPA cleaning
- Fine holes and cavitiesUltrasonic + blown clean
- Curing parametersBy resin grade
- Over-cure riskBrittle thin walls
02 / Support removal and finishing
Support contacts treated,
mating faces finished to assembly feel
Supports are cut away and sanded through successive grits. Contact points are placed away from mating and cosmetic faces at the slicing stage, so marks land on non-critical areas.
- Sanding grits400–2000 grit
- Mating face treatmentFinished to assembly feel
- Support contact≤0.3 mm
- Critical face orientationUp or sideways
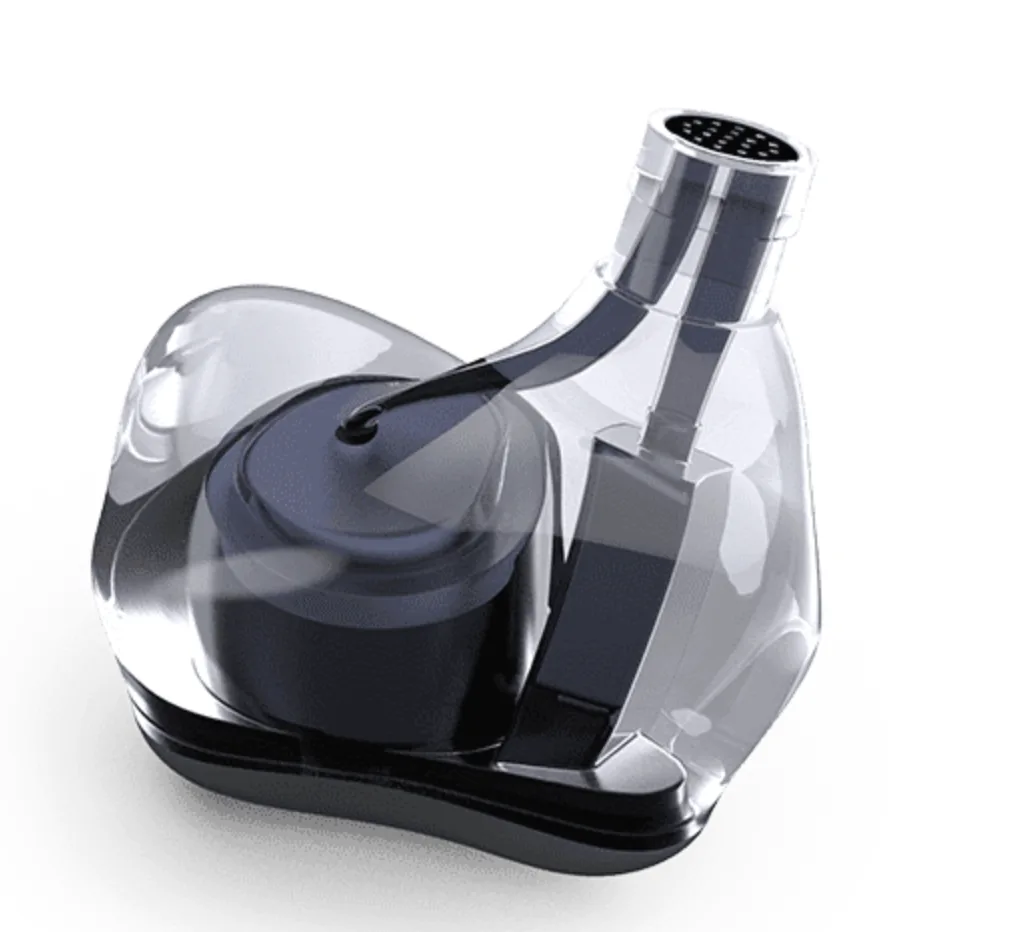
03 / Sanding and blasting
A uniform matte surface:
the standard combination
Step sanding removes layer lines and support marks, then uniform blasting produces a consistent matte surface. It is the most common route for structural and cosmetic parts, and the easiest to control across a batch.
- Surface roughnessRa ≤1.6 μm
- Surface resultUniform matte
- Suitable partsStructural and cosmetic parts
- Consistency checkCompared against the approved sample
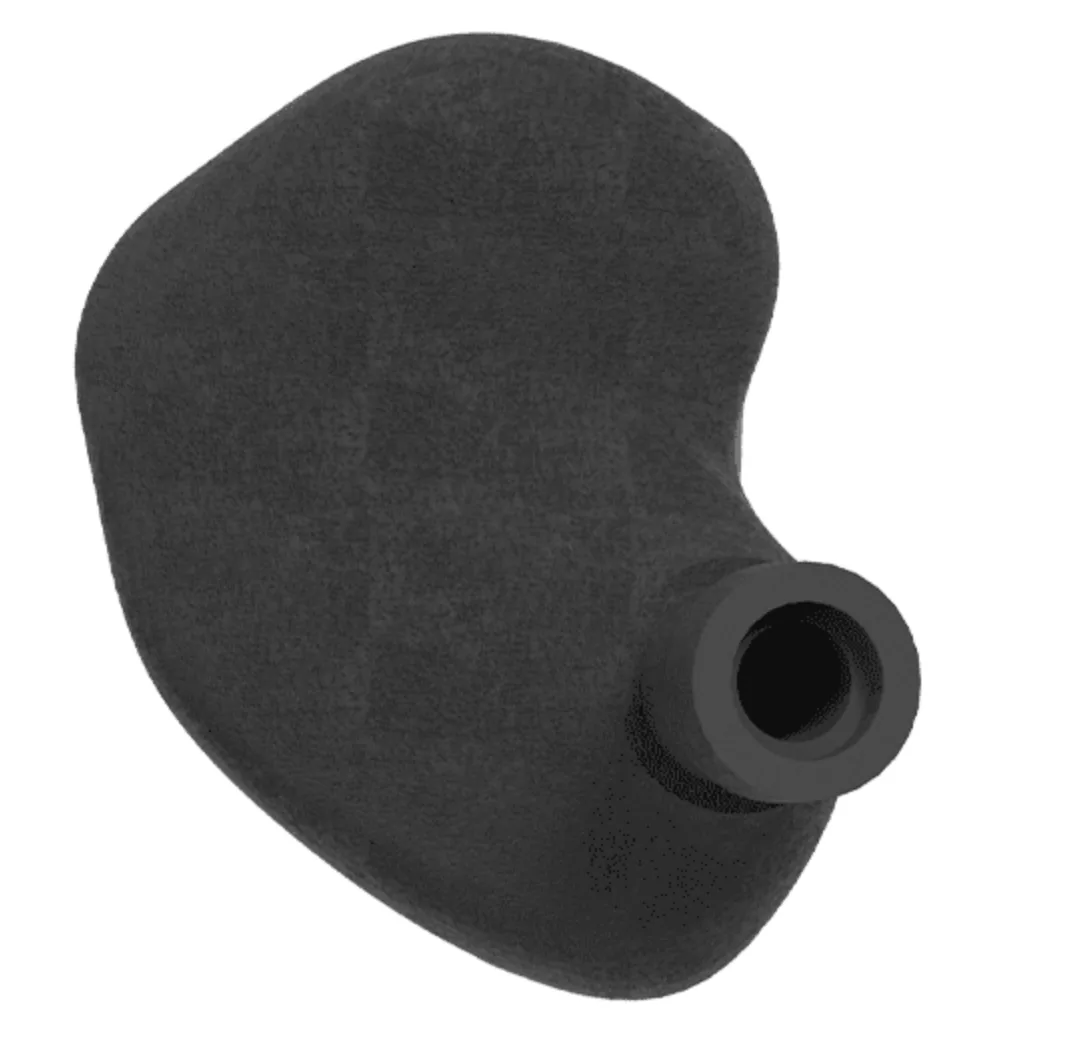
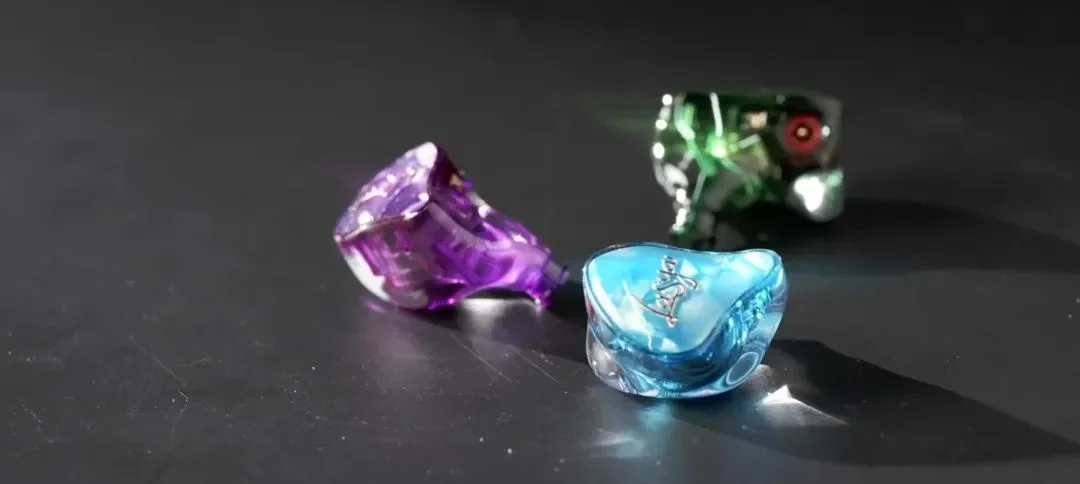
04 / Polishing
Transparency in clear parts
comes from step polishing
Clear parts add polishing after sanding, progressively raising transparency so internal structure becomes visible. Polishing is manual work; time and outcome are directly linked and it is itemised separately in the quote.
- Suitable partsClear shells, light guides
- Operation sequenceStep sanding + polishing
- Pricing basisItemised as manual operations
- Typical resultInternal structure visible
05 / Painting and coating
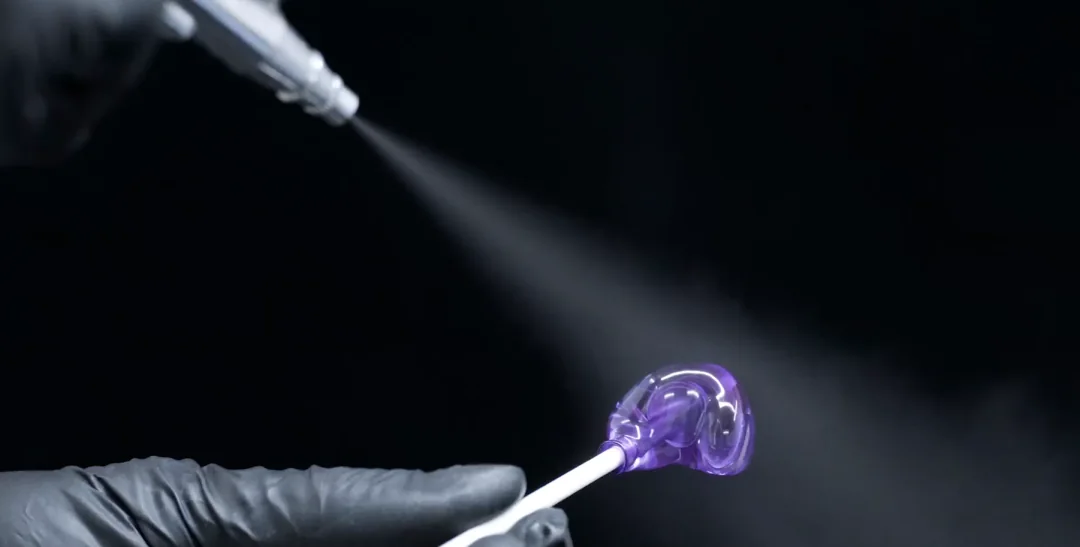
Hand and automated painting,
selected by batch size and geometry
Hand painting suits small batches and complex geometry where local treatment is needed; automated painting suits batch orders with more stable film thickness and colour consistency. Either can be combined with a UV coating to raise surface hardness.
- Hand paintingSmall batches, complex geometry
- Automated paintingBatch consistency
- UV coatingIncreases surface hardness
- Colour approvalCompared against the approved sample
06 / Internal colouring
Turning the cavity into
part of the exterior
Clear chambers can be coloured internally so the internal structure becomes part of the exterior design. Left/right consistency is controlled by running both in the same batch with the same parameters and comparing against the approved sample.
- Suitable partsClear chamber
- Consistency controlSame batch, same parameters
- Approval methodCompared against the approved sample
- Paired operationPolishing raises transparency
Post-processing tiers
Choose the tier by application,
not by defaulting to the highest
The higher the tier, the closer the surface is to a finished cosmetic part — with matching increases in lead time and cost. State the part's application on the order and we will recommend a tier.
- 01
Draft stage
Can be sanded / polished
- 02
Rough stage
Can be hand painted
- 03
Fine stage
Can proceed to automated painting
- 04
Polished stage
Ready for assembly
Photopolymer parts still show fine layer lines on curved surfaces. The standard route is sanding plus blasting for a uniform matte finish; clear parts add step sanding and polishing. Any tier can be validated on a sample before running the batch.
Tier matrix
Operations, results
and lead-time impact by tier
Use this table for a quick comparison: once the application is known, the tier can be locked in without confirming each operation.
| Tier | Main operations | Surface result | Suitable parts | Lead time |
|---|---|---|---|---|
| Basic | Cleaning, post-cure, support removal, coarse sanding | Matte, dimensions first | Assembly checks, internal structural parts | — |
| Refined | Step sanding, local rework | Uniform matte, smooth to the touch | Fit-test parts, assembly parts | +0.5–1 h / part |
| Cosmetic | Sanding + blasting / hand painting | Uniform matte or specified colour | Cosmetic approval parts, trial-sale products | +1–2 h / part |
| Polished | Step sanding + polishing (+ internal colouring) | Transparent, internal structure visible | Clear shells, light guides | Itemised as manual operations |
Figures above are standard references. Operation sequences can be adjusted per part; the approved sample and quotation prevail.
Confirming post-processing
Agree the surface requirement first,
then lock the tier
Describe the application, appearance requirement and acceptable lead time, and we will recommend a tier with its surface result and cost impact. A sample can confirm the surface first if needed.
- zyang6102@gmail.com
- Business hours
- Mon–Sat, 9:00–18:00 (CST)
Next step
Submit an enquiry — tier and quotation within one business day.
Request a sample quote View the eight steps